.jpg)

.jpg)
.jpg)
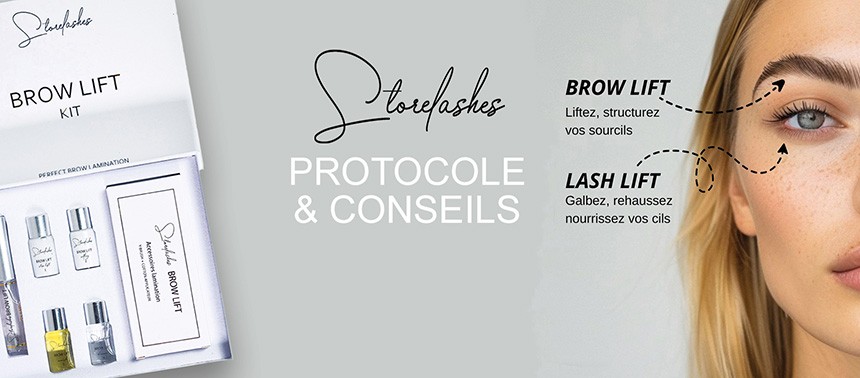


Protocole Rehaussement de Cils
TUTORIAL: EYELASH ENHANCEMENT
Contents of the "Lash Enhancement Kit''
Silicone pads : One pair of S, M and Leach. They are washable and reusable. One tube of perming glue: designed for use with the pads to glue the lashes. Pink bottle: Perming lotion that will help cur-1e your lashes. Blue bottle: Fixing lotion to secure the curve for about 3 months. Yellow bottle: nourishing and hydrating lotion that removes excess glue from the lashes, skin, and the pads. Our Lash Lift kit.
Steps
Preparation phase
Thoroughly remove all make up from the eyelashes to ensure removal of any oily residue. You may use a Primer that will remove any oil and prepare the eyelashes for the lash enhancement. Isolate the lower lashes by placing the hydrogel patches that have a hydrating and decongestive effect and that guarantee your client's maximal comfort. Choose the Pads based on the length and thickness of the lashes. Place the Pads on the mobile part of the eyelid in the crease of the eye (eyes closed). To facilitate the pad placement, hold the eyebrow in a slightly lifted position. Proceed to a methodical combing of the eyelashes using the mascara wand to untangle them, and if need be, apply the primer using a microbrush. The lashes should then be laid out uniformly onto the pad using the perming glue. You can use a metal pick for an easier application.
Applying the perming lotion
Thoroughly apply the perming lotion (pink bottle) using a large cotton tip, being careful not to let the product run into the eye. Let it sit 10-15 minutes depending on the lash's pre-existing natural curve. Nonetheless, we recommend reducing the setting time for clients who have porous and fragile eyelashes, as is often the case for mature-age persons. When the time is up, remove the excess lotion using a dry cotton tip.
Applying the fixing lotion
Apply the fixing lotion (blue bottle) in the same way you applied the perming lotion. Let it take effect for 10-15 minutes. Remove the excess with a large (dry) cotton tip. A lash tint would be performed at this stage of the process, after which you should continue with the subsequent steps.
Applying the nourishing treatment
Thoroughly apply the nourishing and repairing lotion (yellow bottle) and let sit for 5 minutes.
Applying the cleansing lotion
Eliminate the glue residues using the cleansing lotion (transparent bottle) using a cotton ball, scrubbing gently the lower and upper eyelids.
• For the best results, it's best not to let eyes get wet for 24-48 hours.
• ln the event of an allergic reaction, rinse the eye thoroughly with physiological serum.
• For a more pronounced effect, you can also undertake a lash tint.
Storage safeguards for the bottles
• The lotions must be stored in a cool, dry place away from direct sunlight.
• Two months of shelf-life once opened.
• The perming lotion (pink bottle) should be in contact with any metallic objects
• If you have any doubt about the lash enhancement you are undertaking (e.g. clients reporting a burning sensation), you can use an oil-based produced (such as castor oil) to stop the process. You will need to Wait at least 8 weeks before re-attempting your client's enhancement.
• We would also like to remind you that it is of vital importance to take into account, thenature of your client's natural eyelashes before undertaking a lash enhancement (fine or porous eyelashes as the case may be in older people can modify the setting time and be at risk of allergic reactions to the products).
These products are designed for professional usage only and are to be used as part of a protocol that does not replace the professional training that you would have to have completed before becoming a qualified technician.


